

In this post we will show you how to save a SCOM report for later runs. This way we can run the same report again next time, without having to re-configure all settings of the report and get a similar result without much effort. Also there are ways here to have somebody else run the report while not having to change all these fields.
The assumption here is that you have opened a report, filled in the required fields like time-range and objects and successfully ran the report. You now have a report in front of you with data.
What I often do is first run a report with a time range between Yesterday and Today to see if there is data. Next I change the date range to for example from Previous Month First Day to Previous Month Last Day range and run the report again. You can also take other relative time frames. A specific time range with very specific dates in it will always render the same report of that day in the past. But relative date ranges are very useful.
You have a report ready now, and preferably you have used relative ranges in the date range. AT the top of the report click the File menu option and in the drop down you will see a few possibilities. The ones in the red square are the interesting ones for this moment.
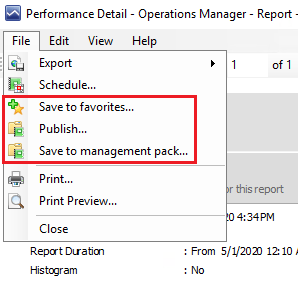
Let’s review these 3 options
- Save to Favorites… – This will show up in the Reporting pane in the Favorite Reports folder, which can only be seen by you. I would advise to only do this for reports which are already authored and in the other folders or which you Saved to a management pack.
- Publish… – This will show up in the Reporting pane in the Authored Reports folder and can be run from there later.
- Save to management pack… – This actually makes an entry in a management of your choosing and displays a folder in the reporting pane with the name of the management pack and a report inside of it with the name you specify. These reports can be found by anybody in SCOM reporting pane and can be run and scheduled as well.
Let’s take that last one as an example.
Click Save to management pack…
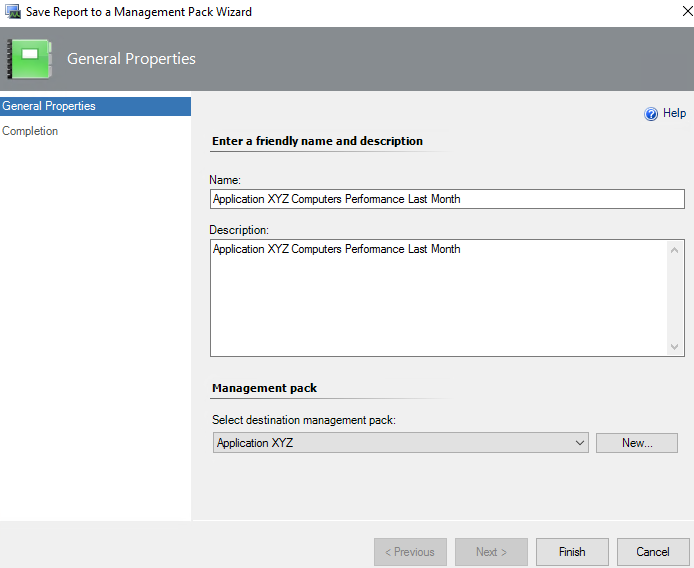
We have to try to give it an appropriate name if possible. In this case it is showing Performance data from last month against the group of servers for Application XYZ, so this is what the name of the report reflects. Next you can give it a description. And we have to select a management pack to save it in. I still had my Application XYZ management pack there to save it in. Next click the Finish button. After a while the wizard says it successfully saved the report in management pack.
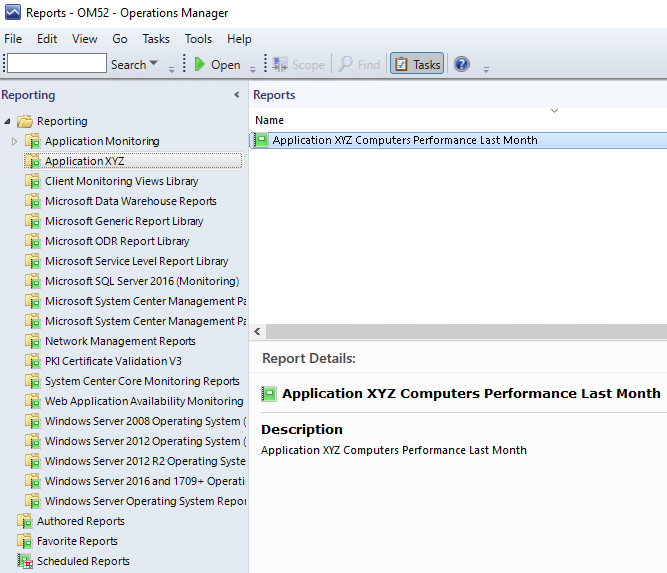
After a few minutes you go to the top of the report folders list in the left hand menu, right-click on that yellow folder at the top of the list called Reporting and click Refresh. You should now see a folder appear in the list on the left with the name of that management pack we saved the report in and to the right the report inside it as you can see in the figure above. If you double click this report it will just run immediately with the settings you defined before.
Also I want to draw your attention to the extra items at the bottom of the folders list to the left. There are the Favorite Reports, Authored Reports and Scheduled Reports.
In this blog post we showed you how to consistently run a report by saving it in one of 3 ways so you or others can access the report and run it at a later time while not needing to configure so much. The next step might be to schedule a report to run automatically and deliver it in PDF to your email each month for example. We will show that in a next blog post.
Back to the master list: SCOM Reporting series – Home and What is SCOM Reporting
Comments are closed.