So, following the great news of the release of the public beta for SCOM 2012 I thought to give my first install of this product a go. I will list the things I have done and ran into:
Windows and roles install
Installed a clean machine windows 2008 R2 SP1 and updated it with the latest security patches.
Installed some tooling, so I can create users in active directory from this machine and so on.
Added Web Server role with at least the following features:
– web server role
– static content
– default document
– directory browsing
– http errors
– asp .net
– http logging
– request monitor
– windows authentication
– request filtering
– static content compression
During install of the SCOM beta I ran into a preq notification letting me know that I need to register ASP .Net 4 with IIS. This is stated in the deployment guide (It helps to read documentation!). Use the following command from an elevated command prompt:
%WINDIR%Microsoft.NETFramework64v4.0.30139aspnet_regiis.exe -r
Next up was the install of SQL.
I installed SQL 2008 R2 with SP1.
Install SQL 2008 R2
– database enigine (need to have full text search selected otherwise you will get an error later in the SCOM install process), reporting services, management tools
– default instance
– collation = SQL_Latin1_General_CP1_CI_AS
– used the sdk account to start some of the sql services. Make sure the SQL Browser service is enabled and running, otherwise you might run into an error during SCOM install.
– changed data directory to other drive
– reporting services default install
– install SQL 2008 R2 SP1 (this includes everything including CU6).
SCOM beta install
For this phase I made some screenshots. I downloaded the beta and extracted it to a local folder on the SCOM server. This virtual machine has two disks, one for system and programs and the other one to place the SQL databases and log files onto (and the install files).
So lets start with starting the installer:
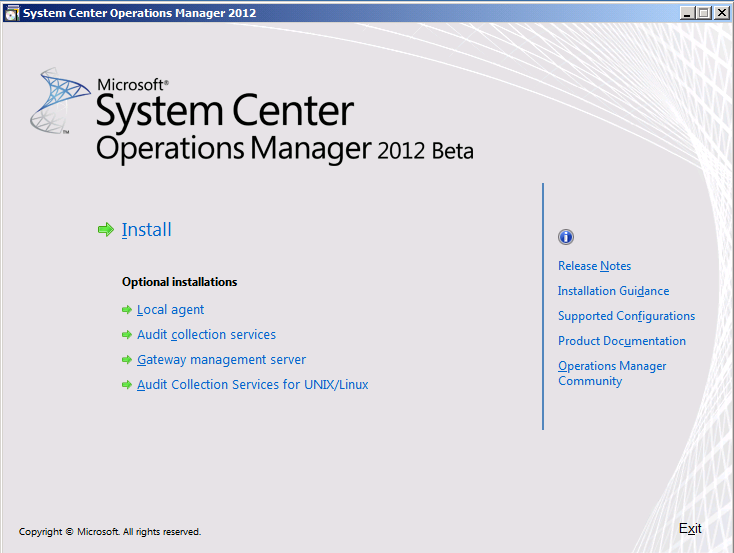
Notice the installer changed. There is now a big Install link to click for installing the major parts and a few links below it for separate parts (like a Gateway). So I hit the Install link.
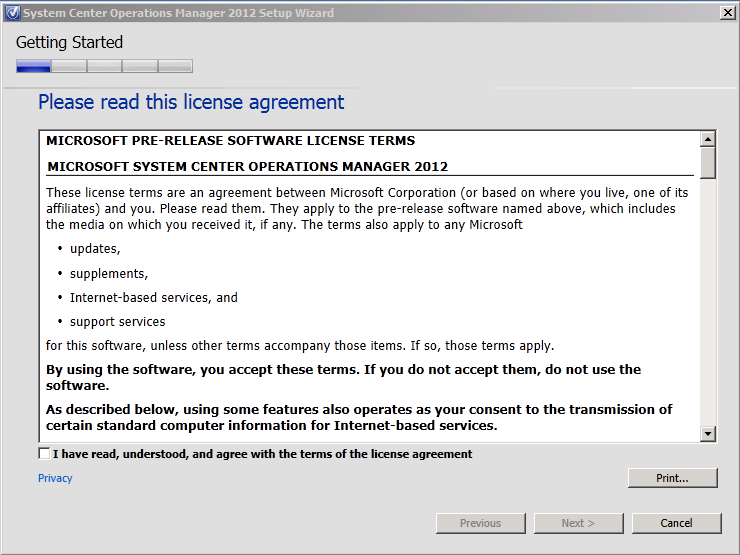
Of course we read the license agreement. Actually partly because I couldn’t wait B) and checked the checkbox that we have read and understood and agree and so on.
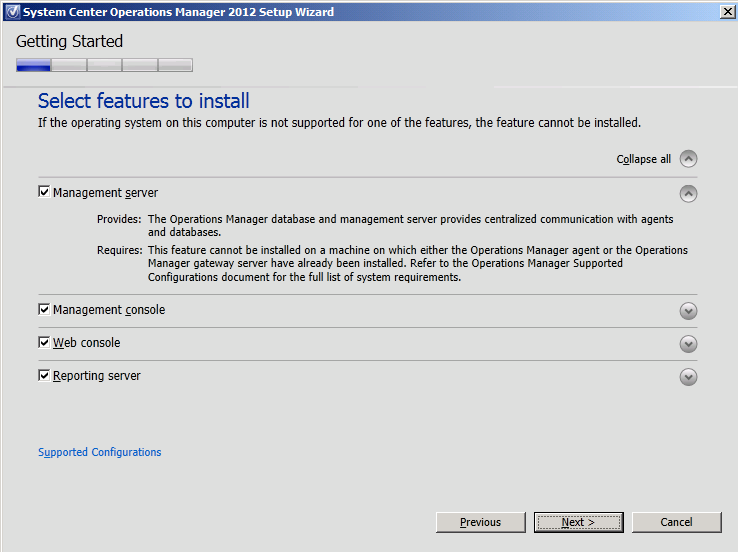
So in this next screen we can select the features to install. You can click on the little arrow to make the description expand and show a bit more information. We do not have to select a separate SQL database install option here as later steps will connect to SQL and take care of their stuff. As this is a server with all roles I just select the whole lot. Management Server + Management console + Web console + Reporting server.
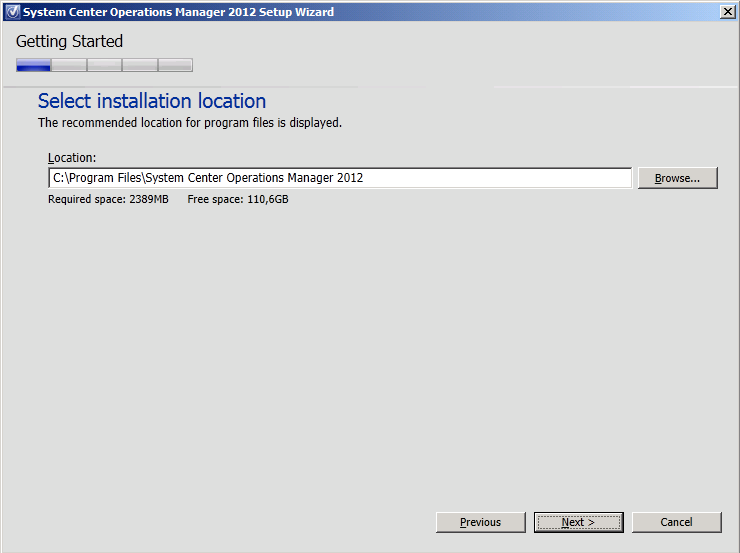
We select an installation location. Default looks fine.
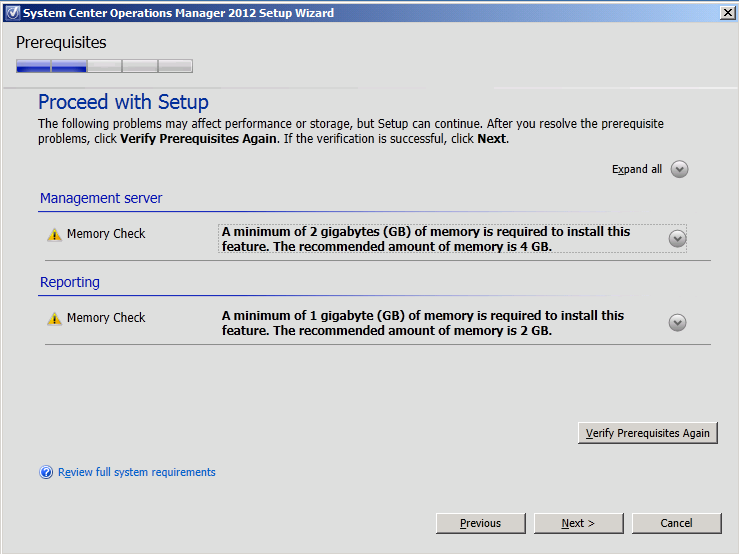
Prerequisite checks are run. In my case it complained about the .NET 4 not having been registered as stated above. It also already complained about the memory it had assigned. I was using dynamic memory at the time, so in the end it should have had enough. Anyway, when installing your system, take care to have enough assigned and ready to roll. Just fix anything that comes up and move on.
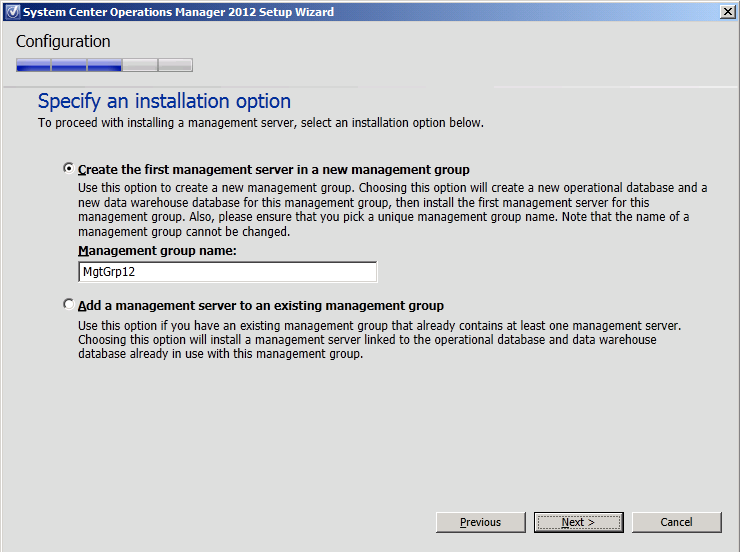
As this is the first server in a new management group I select that option and enter a management group name.

This is a screen that I have been on for a little bit. You start with entering the server name (or server and instance, depending if you are using the default instance or not). As I was using the default instance, only the server name should be anough. This is the part where actually reading first comes in… I didn’t install the full text search feature in the SQL install phase and the SQL Browser was set to disabled. Once these two things were fixed the setup wizard connected and filled in the rest of the fields. As I already set the data directory (and log file directory) during SQL setup these were already set to my second disk. Great, lets move on.
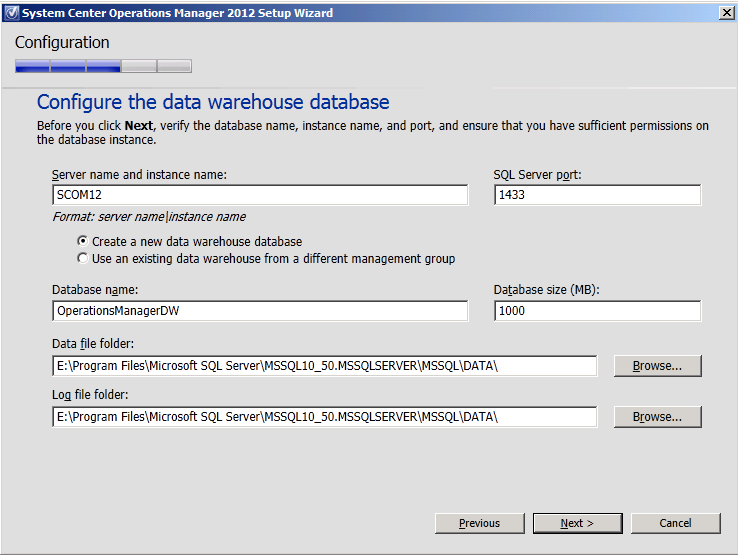
For the datawarehouse I used the same server, so this was an easy one. Check out the option to either create a new Datawarehouse or use one from another management group.
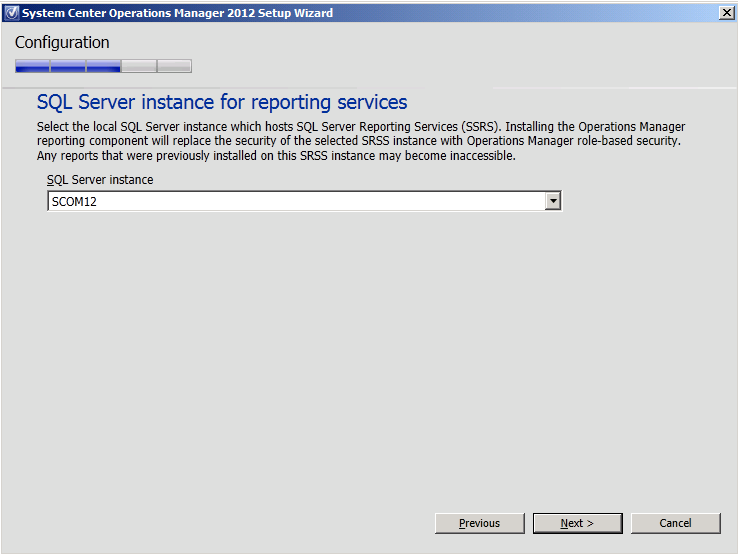
For the Reporting Server select the name of the report server instance we will be connecting to. I already checked that I could connect with a browser to http://localhost/reports and that this not give any errors. So we can move ahead.
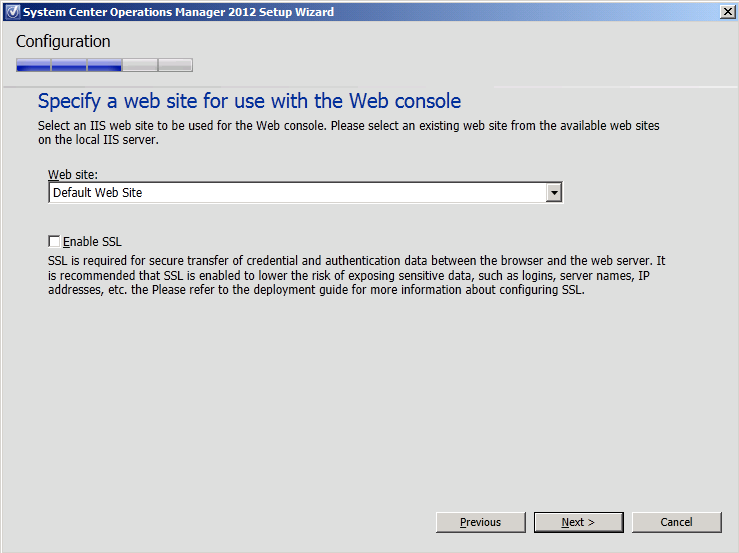
Next up, where do we want to install the web console. Well in this case the default website is fine. We dont have certificates setup yet, so I will leave it turned off for this test environment and move on to the next screen.
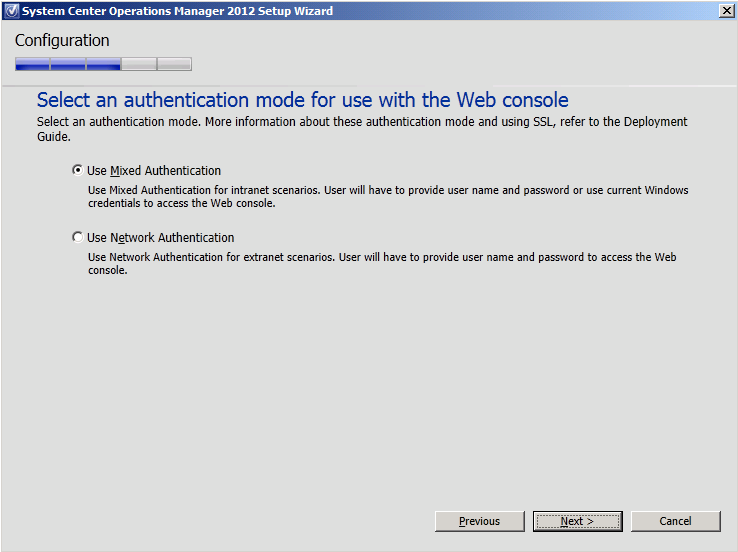
Here we select the authentication mode for the web console. As we are using an intranet scenario we select Mixed authentication.
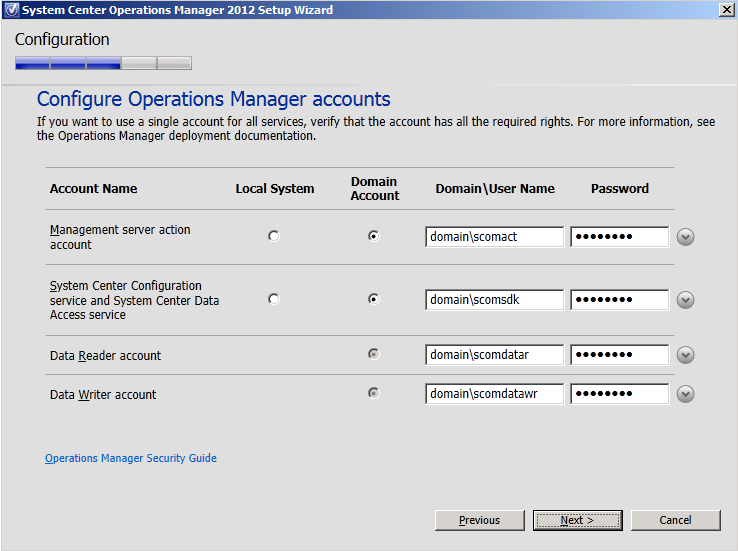
Next up are the accounts. I use domain accounts for all of them and enter their passwords. Of course this gives a popup for the action account as I have it setup as a domain admin which is not the recommended setup (although it does work very nicely 😉 ).
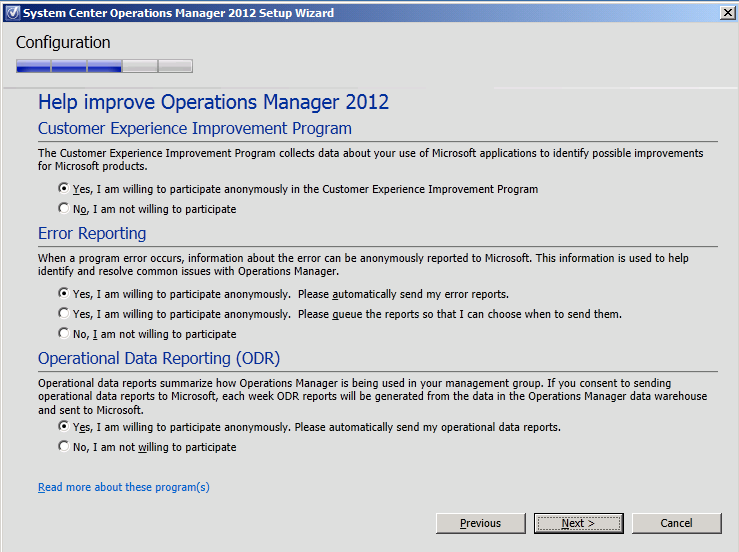
Of course we are willing to send all kinds of information to the product teams. This will help them develop the product and make it better.
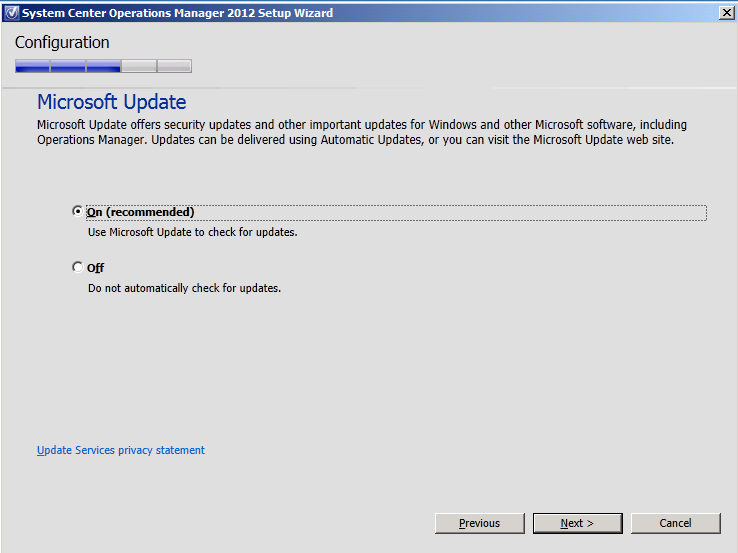
Turn on the Microsoft Update in our case.
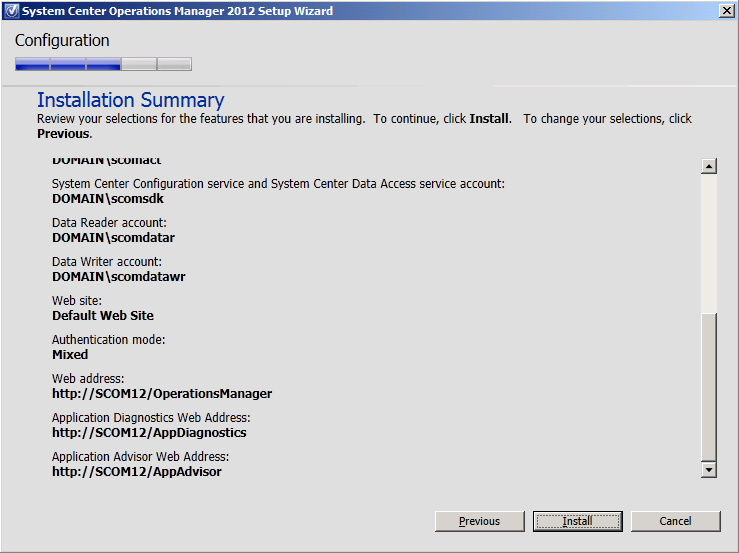
Scroll through the installation summary and click the install button…
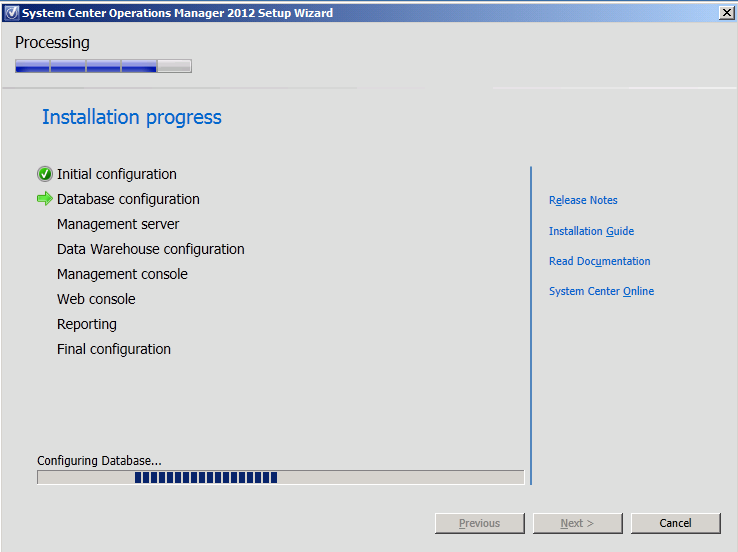
Here it is installing and installing and installing. This takes a while as it sets up all the bits and pieces and imports management packs and so on. At the end of the install I ran into a setup error. Clicking the details button and scrolling a bit revealed the out of memory error. Could have known it was a bit tight in memory. So I started the installer again and from the install option I could do a repair of features already installed. That worked out very nice. Like I said, the installer was nearly at the end when it stopped. Ended up giving the machine a bit more memory to work with.
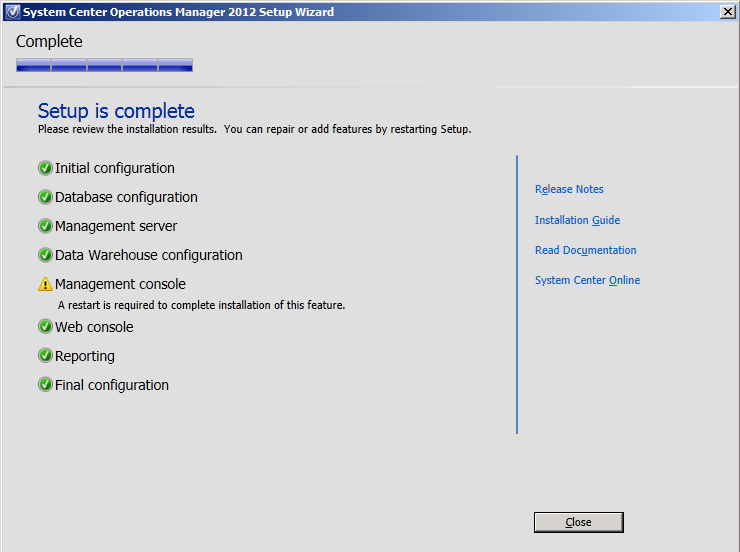
Setup is complete. In my case I had to restart for the management console feature. No problem with that. So I restarted and openend the Operations Manager Console.
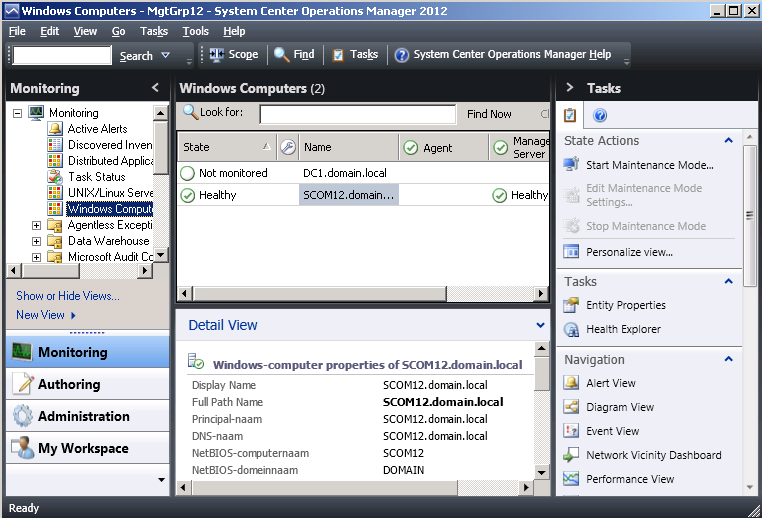
This is a screenshot after the installation of SCOM and after importing a few management packs to get some monitoring flowing (Base OS, IIS, SQL, DNS and AD). Thats why you see the domain controller popping up in the screen already even before it has an agent on it.
And as you have seen it does pay off to check the documentation already available for install prerequisites and settings and if you run into some issues it might already be discussed in the deployment guide or in the rest of the documentation of the product.
So this was my first experience in installing the product. Had already played around with earlier release at the MMS 2011 event in March. Now it is time to play some more!
Enjoy!
Bob Cornelissen
