
Today we have another blog post from our guest blogger Gourav Kumar. This time he writes about using VSCode for Azure DevOps and making the connection.
How to configure VS code for Azure DevOps
1. Overview
This article provides details about how to use VS code for Azure DevOps along with GiT repositories. The good part about this setup is – it is very easy to setup and requires very little computing power.
- CPU = 1.6 GHz or faster processor
- RAM = 4 GB
- Storage = 2 – 5 GB
- Supported OS = Windows, MAC OS and Linux (Deb and Rpm both).
This document explains the configuration needed for windows 10 OS, but as mentioned above VSCode is supported on another OS as well. The overall setup an be divided in three high level steps :
- Installation
- Setup and Configuration
- Using VSCode with Azure DevOps and Terraform.
2. Installation
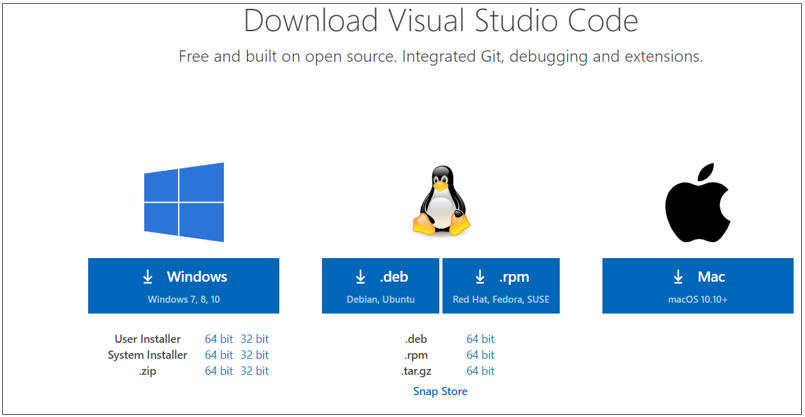
- Download the Visual Studio Code installer for Windows.
For installation of VSCode, download the installation package from : https://code.visualstudio.com/download
Installation package is different for each OS, so download correct package as per the OS you want to use.
- Once it is downloaded, run the installer (VSCodeUserSetup-{version}.exe). This will only take a minute.

- By default, VS Code is installed under C:\users\{username}\AppData\Local\Programs\Microsoft VS Code.
3. Configuration
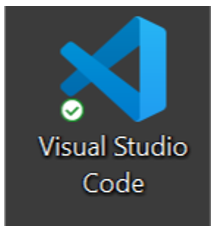
After completion of the installation, a shortcut for Visual Studio Code is created on desktop as shown below.
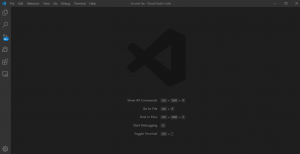
Click on the icon to launch the VS Code and this will launch an empty Homepage for VS Code with no configurations.
In order to configure VSCode for Azure DevOps and Terraform we need below mentioned (Azure and Terraform) extensions installed on VSCode.
- Azure Account, The Azure Account extension provides a single Azure sign-in and subscription filtering experience for all other Azure extensions. It makes Azure’s Cloud Shell service available in VS Code’s integrated terminal.
- Azure Repos, This extension allows you to connect to Azure DevOps Services and Team Foundation Server and provides support for Team Foundation Version Control (TFVC). It allows you to monitor your builds and manage your pull requests and work items for your TFVC or Git source repositories. The extension uses your local repository information to connect to either Azure DevOps Services or Team Foundation Server 2015 Update 2 (and later).
- Azure Resource Manager (ARM) Tools, This extension provides language support for Azure Resource Manager deployment templates and template language expressions.
- Azure Terraform, The VSCode Azure Terraform extension is designed to increase developer productivity authoring, testing and using Terraform with Azure. The extension provides terraform command support, resource graph visualization and CloudShell integration inside VSCode.
- PowerShell, This extension provides rich PowerShell language support for Visual Studio Code. Now you can write and debug PowerShell scripts using the excellent IDE-like interface that Visual Studio Code provides.
- Terraform, Syntax highlighting, linting, formatting, and validation for Hashicorp’s Terraform
To install the extensions in VS Code, hover over to the extension tab given in VS Code or press CTRL+SHIFT+X.

In the search tab, search extensions mentioned above one by one and install.
After successful installation of extensions, an extension tab is visible as shown in below mentioned screenshot.
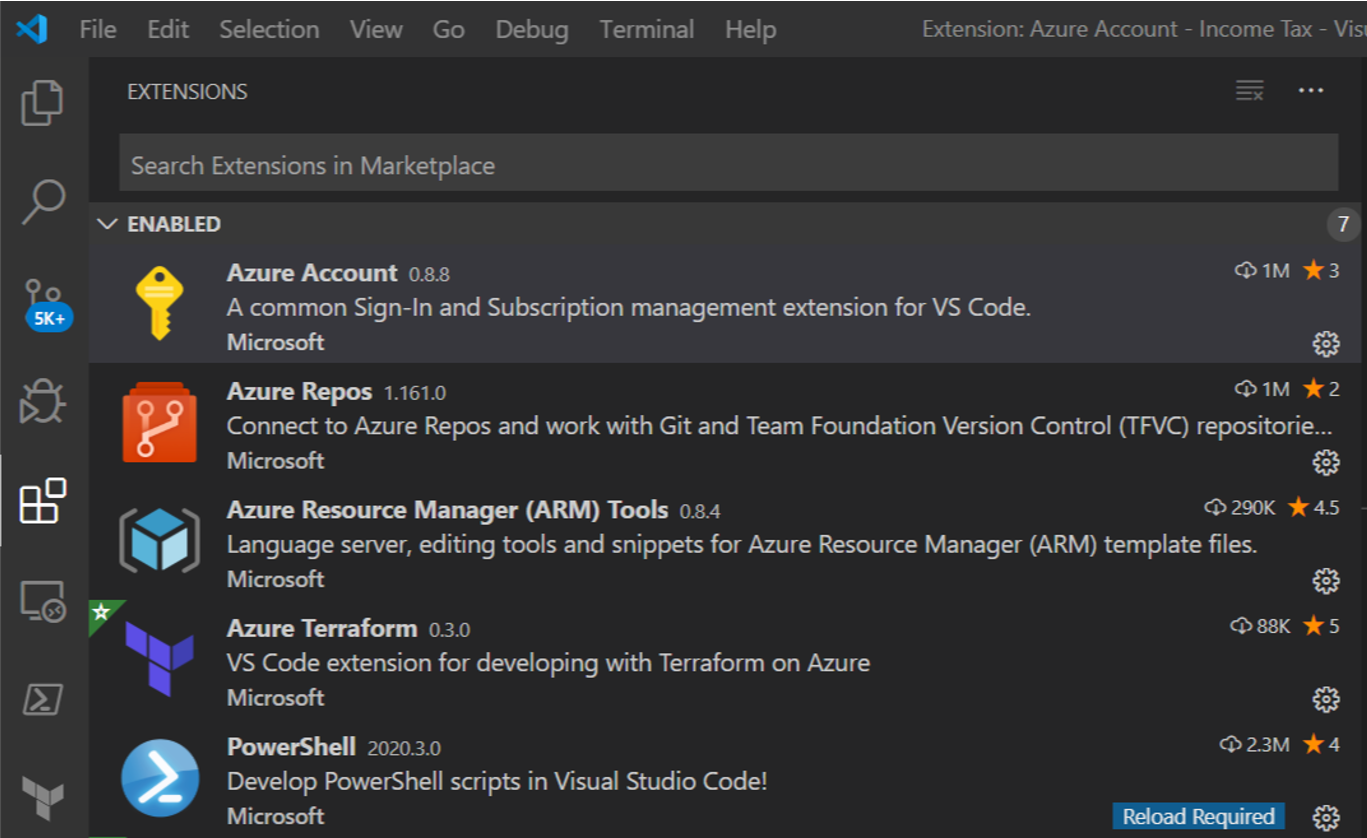
Note: – Make sure extensions are installed and are in enabled state by clicking on each extension and verify it is in enabled state.
4. Using VScode with Azure Devops and Terraform
The final step in this process is to start working with Azure DevOps and other repo.
But before doing that, Please google about Azure Project and pat token creation that we will need now during clone.
Create a Test-Project in Azure DevOps and clone this in VS Code.
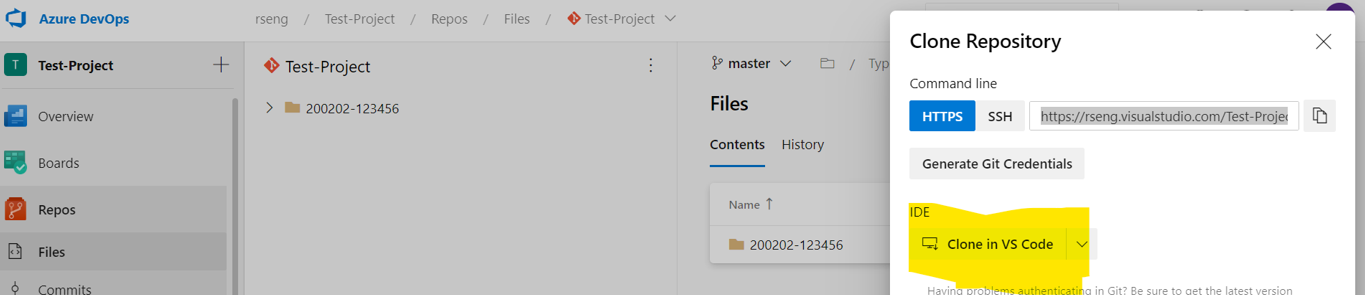
To clone this open project, in the right hand side we could see three dots available, on clicking those dots it will ask to clone it in any IDE however by-default it has set to VS Code. All you need to do is click on the block and follow the pop instructions to clone the entire project.
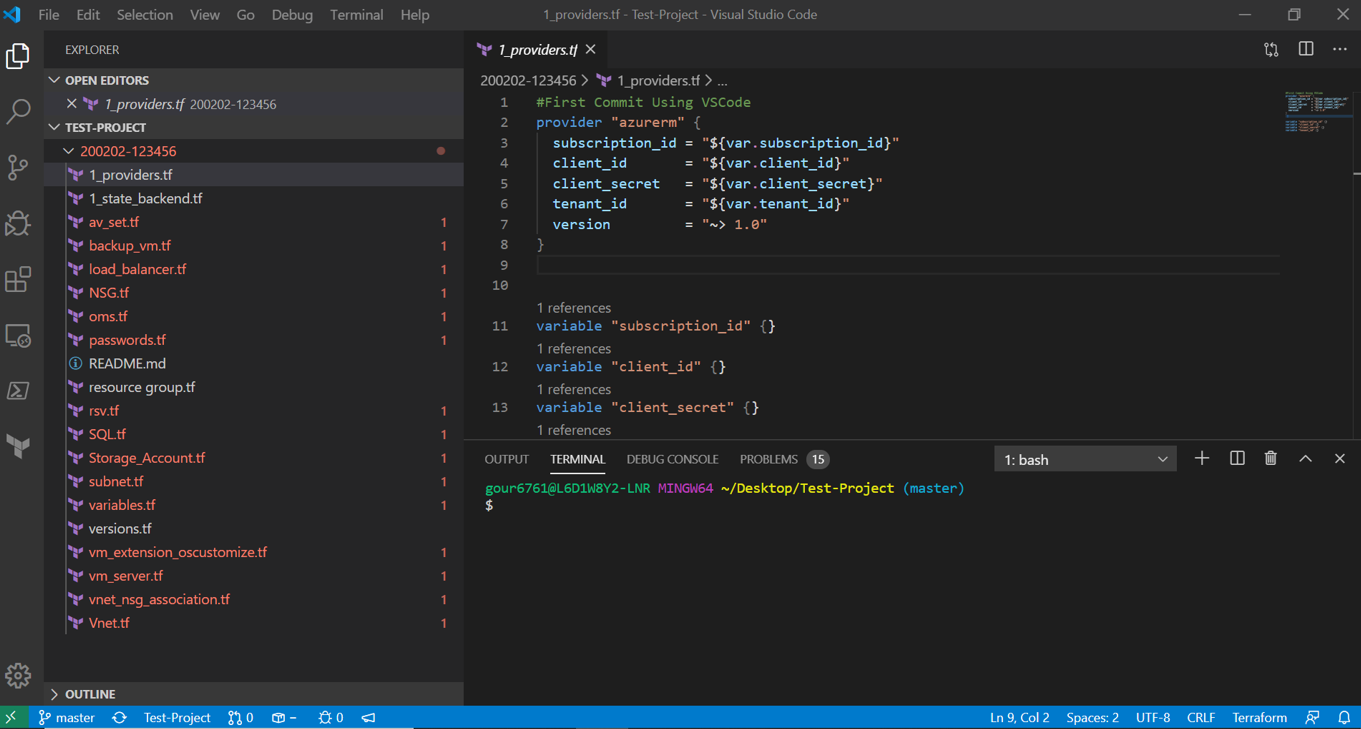
Now your project would be visible in VSCode.
4.1 Overview of the VSCode user interface.
On the very left side, we can see all installed extensions and we can click them to explore them and their features.
- The very first icon is known as explorer. As the names tell itself this opens our entire repo files or script block in VS Code.
- The second lens icon is helpful to find a keyword and replace a keyword. (Like CTRL+F and CTRL+H)
- The third is source control where every change gets staged/un-staged and committed/Undone (Uncommitted).
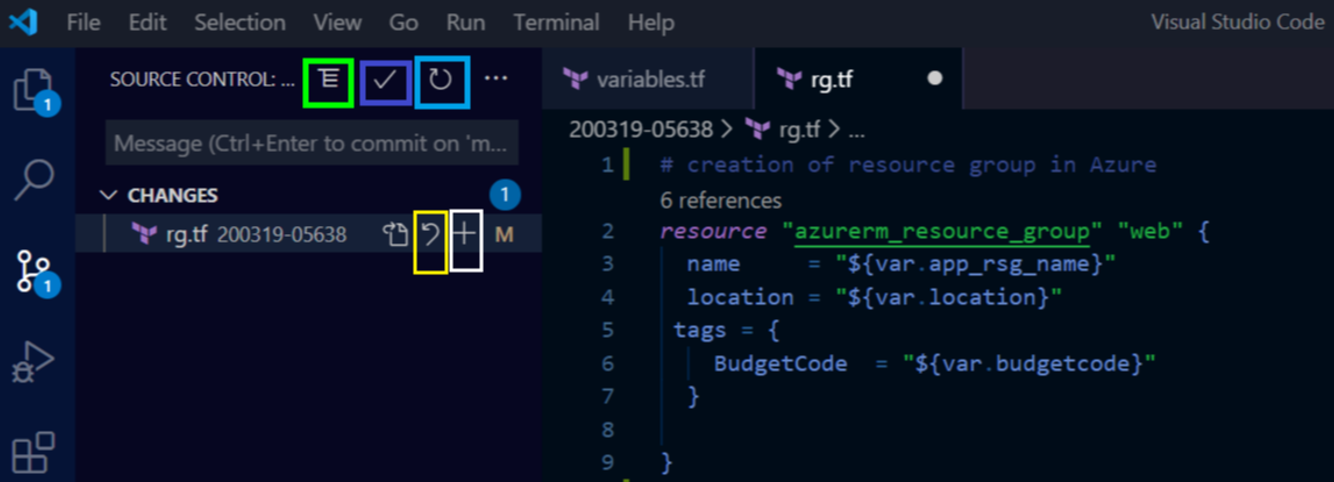
Highlighted icons with different colours that are useful in our daily base task.
The Green one is used to change the toggle view mode.
The Blue one tick mark is used to commit changes.
The Light blue is used to re-fresh things.
The Yellow is used to discard changes.
The White with plus symbol is used to stage all changes.
We can check project and repo sync status in the VS Code bar as shown in below screenshot.

The screenshot we could see I am working in master branch and have no changes to sync (as this sync symbol has nothing). Not only this we could also see our project name is Test-Project and got no bug in it.
We could run PowerShell along with git command in the same IDE terminal.
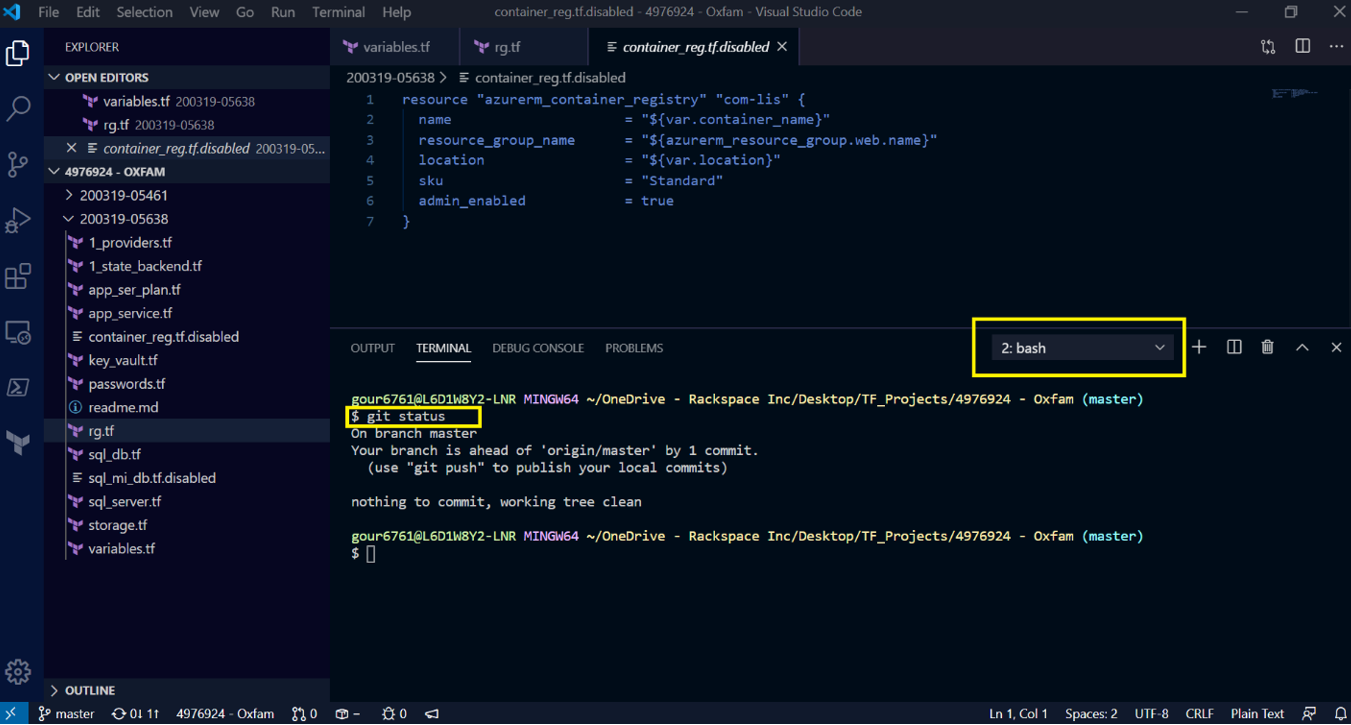

If you do not want to use the graphical git operations (I have demonstrated in above screenshots with multiple squares) then you could use git commands like git clone, commit, pull, push etc. in terminal using git bash in background. But for this we have to make sure that Git bash is installed in our system.
This is the end of today’s post.
Thanks to Gourav for this clear overview on how to get started to connect these things. At TopQore we are also using Azure DevOps with VSCode and it works nicely. Good luck with all your projects!